Bleed is a printing term that is used to describe a document which has images or elements that touch the edge of the page, extending beyond the trim edge and leaving no white margin. When a document has bleed, it must be printed on a larger sheet of paper and then trimmed down.
The example below shows how a document should be set up with bleed. This is the way you must set up your document if you intend to have graphics that extend all the way to the edges of the finished item.
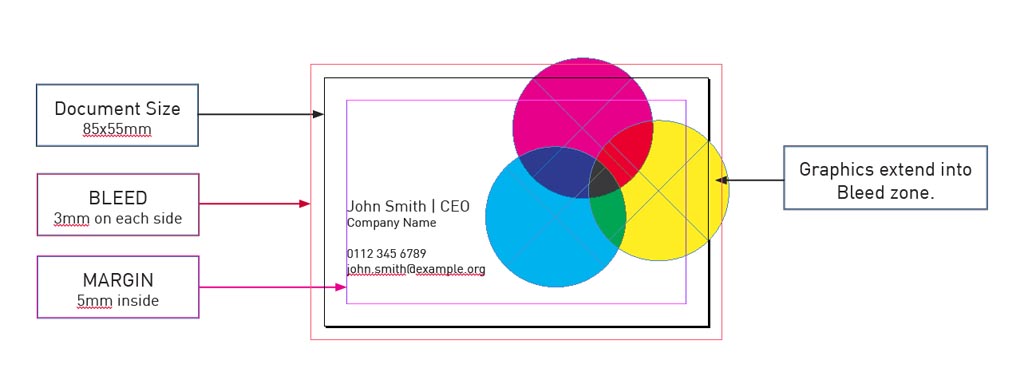
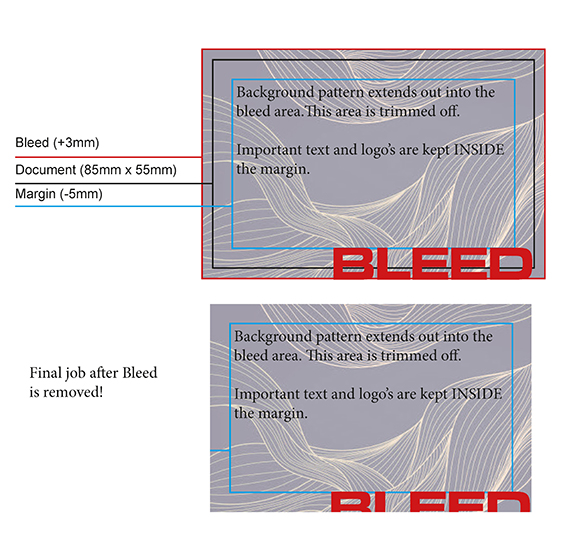
These examples use a business card, however, the same principle applies to a document of any size.
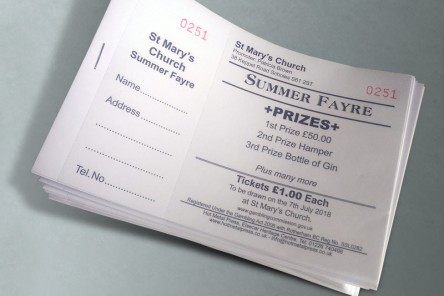
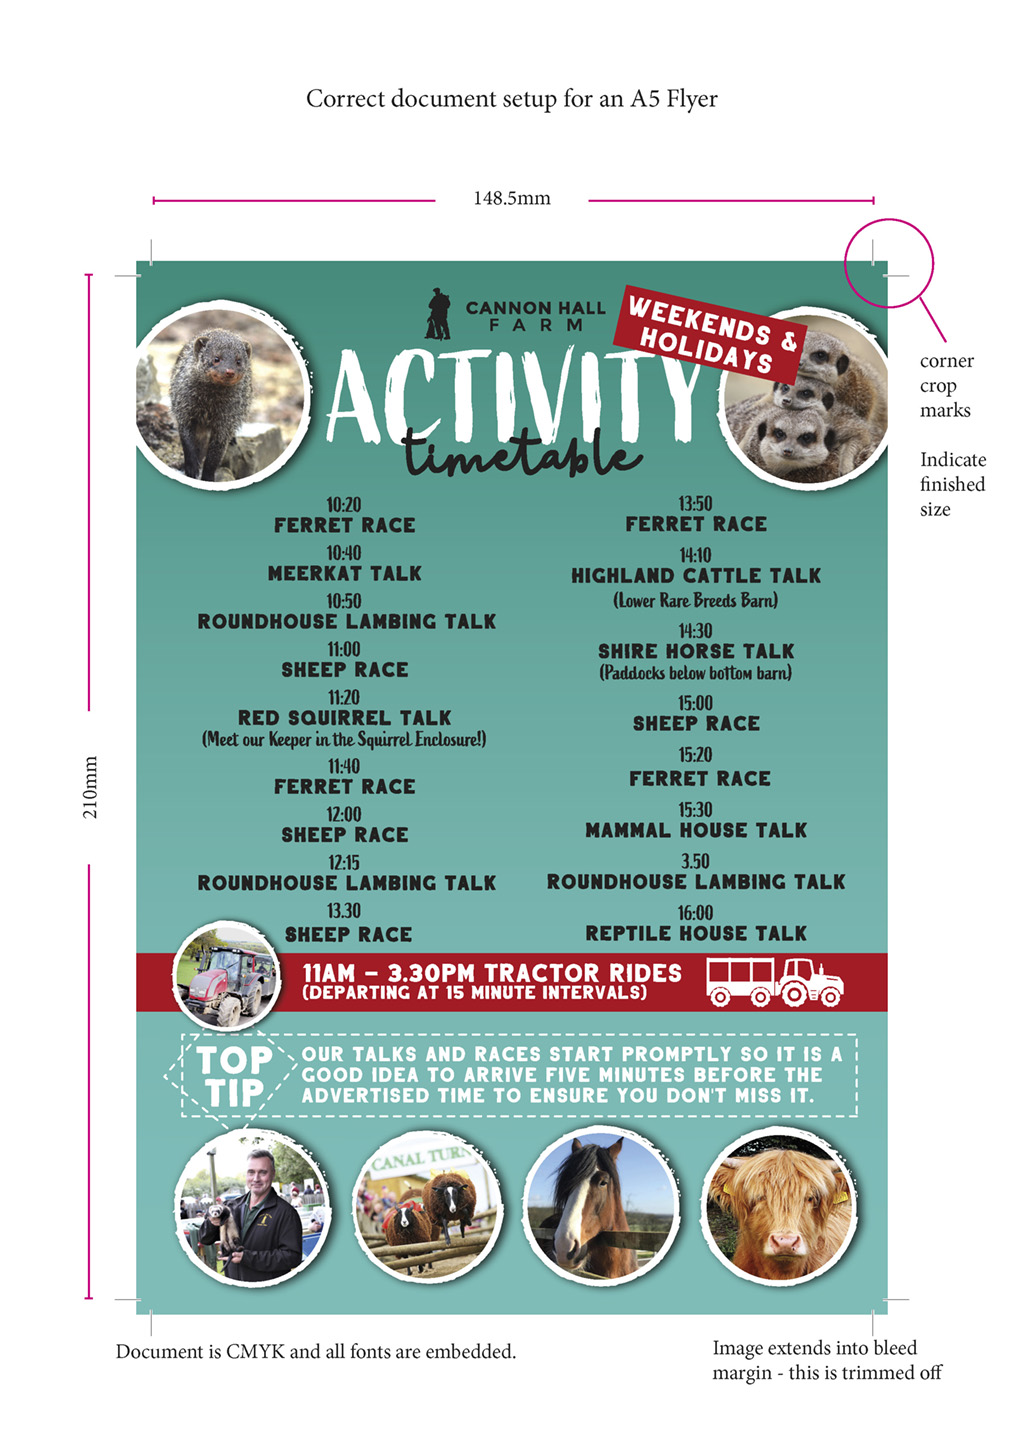
For example – this is an A5 flyer…
Printers cannot easily print right to the edge of a sheet therefore any standard-size prints with bleed must actually be printed on a larger sheet and cut down. i.e., an A4 page with bleed must be printed on an SRA4 sheet (or multiple pages on an SRA3, or SRA2 etc) and then cut to size.
If you’re adding 3mm bleed then your A4 document will actually be 6mm larger on each edge, so 303mm by 216mm rather than 297mm by 210mm.
Bleed for an 80mm round pumpclip
The following three images show how we would set up artwork for a typical pump clip.
a) a composite image, the magenta line is the 80mm cutter, the cyan line is a 3mm ‘safe’ margin, note the background extends out past the cutter line by 3mm. also, all important text is INSIDE the 3mm safe margin. Bleed is 3mm on all sides, therefore an 80mm clip actually needs to be at least 86mm in size.
b) is what is actually printed, the magenta and cyan guide lines are NOT present.
c) is what the final clip will look like AFTER it has been cut.

a

b

c
You can download a .pdf ![]() of this example
of this example
This short film explains how to create bleed in Adobe Indesign.
See also Paper Sizes